Pei-Chi & Rodney | 17 hours ago

Vinegar Eel Culture Instruction

Vinegar eels are one of the easiest live foods to culture and are an excellent first food for small fish fry. They remain alive in freshwater for many hours, giving fry plenty of time to feed.

There are two different methods you can use to culture them. The traditional method is very reliable and requires minimal maintenance, while the High Density Vinegar Eel (HDVE) method produces much larger quantities but requires a little more care.

Traditional Vinegar Eel Culture

What You'll Need

-Apple cider vinegar

-Dechlorinated water

-A few slices of apple

-Vinegar eel starter culture

-Container with a breathable cover (mesh or cloth)


Method

1.Place a few slices of fresh apple into a clean container.

2.Fill the container with a mixture of:

-50% apple cider vinegar

-50% dechlorinated water

3.Add the vinegar eel starter culture.

4.Cover the container with mesh or cloth to allow airflow while preventing insects from entering.

5.Store the culture in a cool, dark location


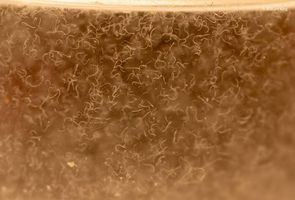
The culture is ready to harvest once the starter debris has settled and large numbers of vinegar eels can be seen swimming near the surface. Shining a torch through the side or back of the container makes them much easier to see.


Harvesting

1.Carefully pour some of the culture into a clear bottle with a long, narrow neck (clear beer bottles work well).

2.Fill the bottle to just below the neck with the vinegar solution.

3.Tie a thin piece of string around a small plug of fine filter wool and insert it into the neck so it sits just above the vinegar solution.

4.Fill the neck of the bottle with fresh dechlorinated water.


Over the next several hours, the vinegar eels will swim through the filter wool into the freshwater.


Once the freshwater becomes cloudy with vinegar eels, use a pipette to collect the water and feed it directly to your fry.


Top up the neck with fresh dechlorinated water for the next harvest.

This method allows you to collect vinegar eels without introducing large amounts of vinegar into the aquarium.


High Density Vinegar Eel Culture

What You'll Need

-Apple cider vinegar

-Boiling water

-Rolled oats, crushed Weet-Bix®, or instant mashed potato

-Baker's yeast

-Vinegar eel starter culture

-Plastic takeaway container with a ventilated lid


Method

1.Prepare the culture liquid by mixing:

-2 parts apple cider vinegar

-1 part boiling water

2.Add rolled oats, crushed Weet-Bix®, or instant mashed potato until the mixture reaches a soft porridge consistency.

3.Allow the mixture to cool completely.

4.Half-fill a takeaway container with the cooled mixture.

5.Add the vinegar eel starter culture.

6.Sprinkle a small pinch of baker's yeast over the surface and gently mix everything together.

7.Fit a ventilated lid and keep the culture in a cool location.


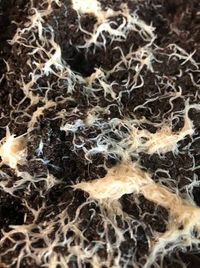
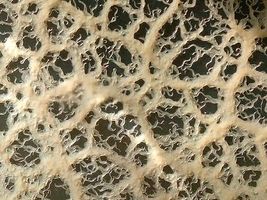
Young vinegar eels will form a wrinkled film across the surface of the culture. Within a few days this film will begin climbing the sides of the container, indicating the culture is ready for harvesting.


As the culture matures, the surface will gradually become smoother.

To help prevent spoilage bacteria from building up, stir the culture once or twice each week.


Harvesting

Simply wipe the vinegar eels from the sides of the container using:

-A small paintbrush

-Cotton bud

-Clean finger


Dip the collected worms directly into the fry tank.

Tip For Success

*If your HDVE cultures spoil too quickly, increase the proportion of apple cider vinegar in the mixture.


*When starting a new HDVE culture, use approximately the top quarter of a mature culture as your starter.


*The traditional vinegar eel culture requires very little maintenance and makes an excellent backup culture.


*To convert a traditional culture into a HDVE culture, simply use the traditional culture as the starter and follow the HDVE method.


*With regular stirring, the culture is usually ready for harvesting in around 6 weeks.


*Maintaining both a traditional culture and a HDVE culture ensures you always have a reliable supply of vinegar eels, even if one culture fails.


This is the method we use at Fintastic Studio. We recommend keeping a traditional culture running at all times as a dependable backup, while using the HDVE method whenever you need a larger, more productive culture for raising fry.

Let's Create Thriving Aquariums—Together

Pei-Chi & Rodney

More Posts

<p>Potassium Permanganate Baths – How We Use Them</p><p>Potassium Permanganate Baths – How We Use Them</p>

Potassium Permanganate Baths – How We Use Them

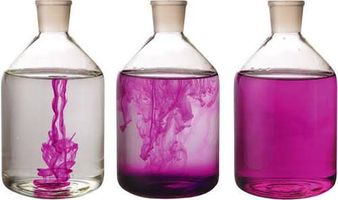
Potassium permanganate (PP) has been used in the aquarium hobby for decades as an external treatment for parasites, bacteria and fungi. It is a valuable treatment when used correctly, but it is not something to use casually. Good preparation, accurate dosing, excellent water quality and constant observation are all essential for safe treatment


The method below is simply how we use PP at Fintastic Studio. It is not the only method available, nor is it intended to replace veterinary advice. Always research thoroughly before using PP and never leave fish unattended during treatment.


*Potassium permanganate can be purchased from King's plant barn under - Wallys Potassium Permanganate.
Daphnia Culture InstructionDaphnia Culture Instruction
Daphnia Culture Instruction

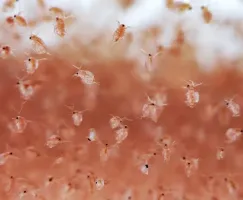
Daphnia are small freshwater crustaceans that make an excellent live food for aquarium fish. They are highly nutritious and are especially useful for conditioning breeding fish and feeding growing fry.

There are many different methods for culturing daphnia. The following is the method that has given us the most consistent results after plenty of trial and error.

Microworm Culture InstructionMicroworm Culture Instruction
Microworm Culture Instruction

Microworms are an excellent first food for newly hatched fish fry. They are easy to culture at home and, with a little care, will provide a continuous supply of live food.

Fintastic Studio Beef Heart RecipeFintastic Studio Beef Heart Recipe
Fintastic Studio Beef Heart Recipe

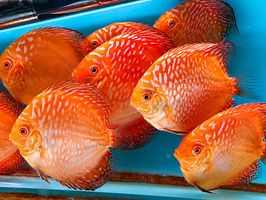
Our homemade beef heart mix has been a staple food for growing discus and other carnivorous tropical fish. This recipe combines lean beef heart with quality fish foods and nutritional supplements to produce a highly palatable, protein-rich food that freezes well and is easy to portion.

Cycling Aquasoil Based Aquarium Using APT Balance – Our Trial ResultsCycling Aquasoil Based Aquarium Using APT Balance – Our Trial Results
Cycling Aquasoil Based Aquarium Using APT Balance – Our Trial Results

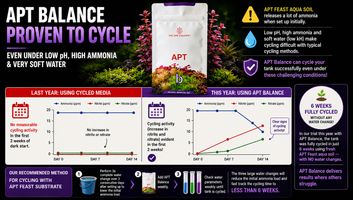
One of the characteristics of fresh APT Feast Aquasoil is that it releases a significant amount of ammonia when first submerged. In our test setup, 15 litres of APT Feast in a 125-litre aquarium produced an ammonia reading of around 20 ppm.


The combination of high ammonia, acidic water and very low carbonate hardness (kH) can make establishing the nitrogen cycle more challenging than in a typical aquarium. Beneficial nitrifying bacteria generally perform best in water with a higher pH and adequate carbonate hardness, so we wanted to see how APT Balance would perform under these conditions.

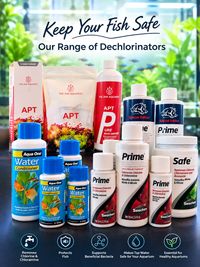
Which Dechlorinator Should You Choose? Which Dechlorinator Should You Choose?
Which Dechlorinator Should You Choose?

If you use tap water for your aquarium, a good dechlorinator is one of the most important products you'll ever buy. Every water change introduces chlorine or chloramine, and failing to remove them can quickly harm the beneficial bacteria in your filter as well as your fish.


One of the questions we get asked most at Fintastic Studio is:

"Which dechlorinator is the best?"


The answer is... it depends on your aquarium and your needs.