What You'll Need
-Plastic container with a lid
-Rolled oats, Weet-Bix or instant mashed potato
-Baker's yeast
-Water
-Microworm starter culture
Method
1.Prepare a plastic container with a secure-fitting lid.
2.Create ventilation by either:Melting several small holes in the lid with a soldering iron, or Cutting a small opening in the lid and covering it with fine mesh secured using hot glue.
3.Add your chosen culture medium (rolled oats, crushed Weet-Bix or instant mashed potato) to the container.Sprinkle a small amount of baker's yeast over the culture medium.
4.Add water gradually and mix until it reaches the consistency of thick porridge. The mixture should be moist but not runny, as excess water can drown the microworms.
5.Spread the microworm starter culture evenly over the surface.
6.Close the lid and place the container in a warm, dark location.
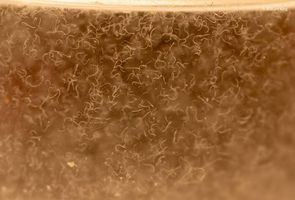
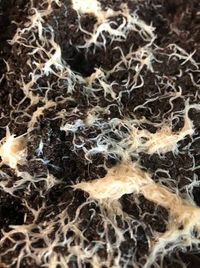
Within a few days, healthy microworms should begin crawling up the sides of the container, ready for harvesting.
Harvesting Microworms
1.Use a clean finger, cotton bud or small paintbrush to wipe the microworms from the sides of the container.
2.Rinse or dip the worms directly into your fry tank to feed your fish.
3.Harvest only the worms climbing the sides of the container to avoid transferring excess culture medium into the aquarium.
Culture Maintenance
A healthy microworm culture should:
-Have a mild yeasty smell.
-Continuously produce worms climbing the sides of the container.
-Produce enough worms to harvest daily once fully established.
Restart the culture when:
1.Worm production slows noticeably.
2.The culture becomes dark or watery.
3.The smell becomes strong or unpleasant.
To start a fresh culture, simply use the top quarter of the old culture as your starter and repeat the setup process.